Please excuse the unplanned hiatus... still too busy with working this week to be allowed the time I'd like for crafting and blogging!
But here's a quick little project I did today: Peter recently was pining for a from-the-box yellow cake, which he used to bake in college and remembers fondly. I thought our anniversary would be a perfect time to treat him to one.
An anniversary 10 days before Valentine's Day is handy for taking advantage of all the heart and love stuff out there, so I used
this template from Martha Stewart as a starting point for a sweet cake topper.
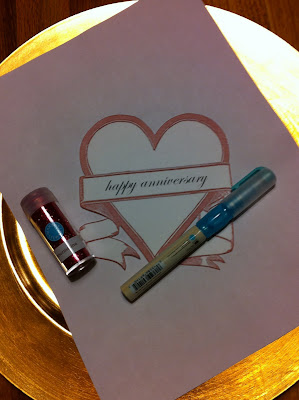
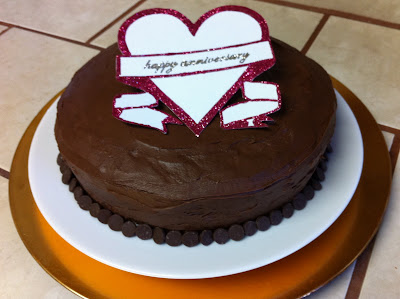
I added the text before printing, and then after cutting out the shape I used my handy glue pen to outline the borders for applying clitter. I heard somewhere that hairspray helps keep glitter in place, so I did a quick spray - wouldn't want to be eating the glitter, now - before propping onto my cake. Voila, a regular cake is now an anniversary celebration cake! (Of course, those of you who will be celebrating your love on February 14 instead of February 4 could make a Valentine's cake with "happy valentine's day" or "be mine" or the like.)

In my clip art searches, I also came across this
banner template (also from Martha), which would be cute to do a similar thing for a birthday or a congratulatory cake if you added text and glittered on the border lines. You could put them on toothpicks to stick in individual cupcakes too.


 Grass candles from Martha Stewart
 Eggshell votives from Martha Stewart
 Colorful silhouettes from Tatertots & Jello


 I thought it was kind of whimsical, and something I could definitely pull together very inexpensively with all the scraps from my felt flower mania.


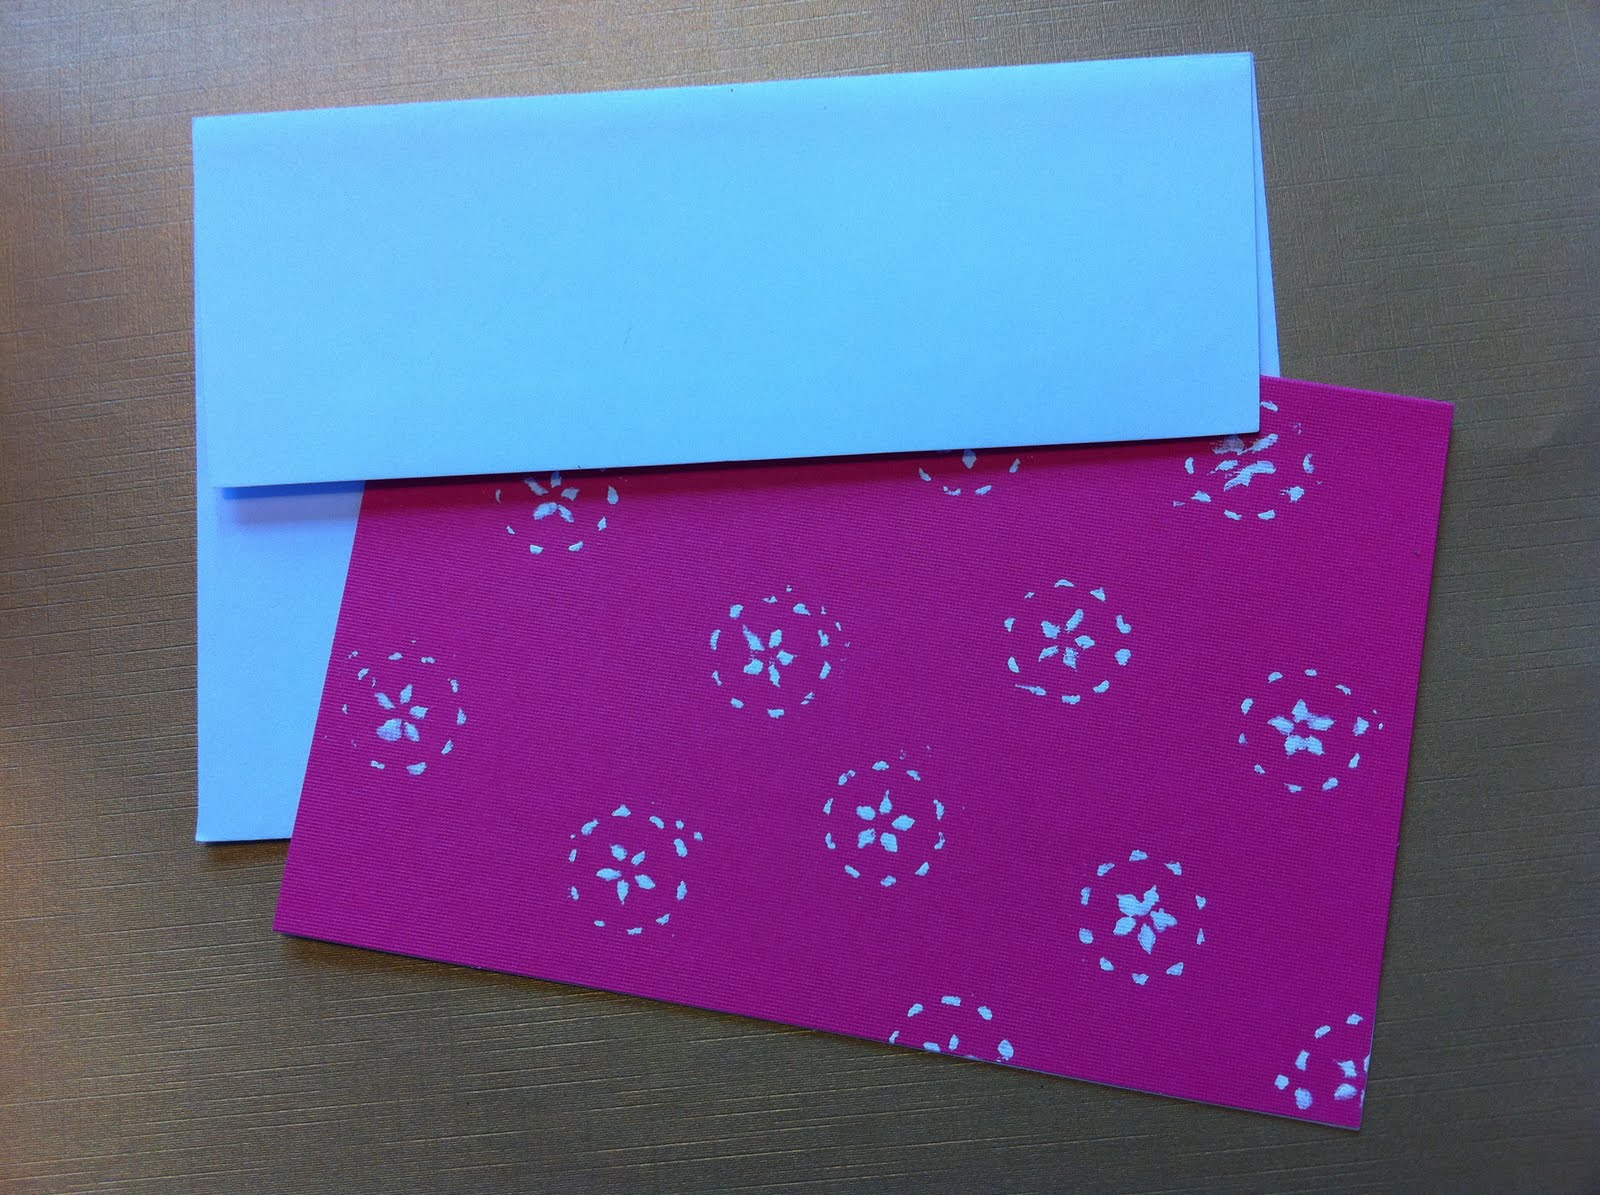
 Last year, inspired by these cards, I made Valentines using doilies as stencils.


 I added the text before printing, and then after cutting out the shape I used my handy glue pen to outline the borders for applying clitter. I heard somewhere that hairspray helps keep glitter in place, so I did a quick spray - wouldn't want to be eating the glitter, now - before propping onto my cake. Voila, a regular cake is now an anniversary celebration cake! (Of course, those of you who will be celebrating your love on February 14 instead of February 4 could make a Valentine's cake with "happy valentine's day" or "be mine" or the like.)

