Showing posts with label felt crafts. Show all posts

Tuesday, February 15, 2011

felt fan necklace

Here's another necklace I made recently, inspired by this one from Anthropologie:
I thought it was kind of whimsical, and something I could definitely pull together very inexpensively with all the scraps from my felt flower mania.

Supplies:
  • Felt
  • Beads
  • Chain
  • Jump rings/clasp
  • Glue gun
To start, cut out felt circles from three different colors; I used a spool of thread as my template for size. You'll need 5 of each.

Using one of the circles as a base, fold a circle and glue half of it to the base; repeat on the other side of the base with another folded circle, leaving a small channel between them. With the last two circles, put a very thin line of glue down the center so they hold their fold but still fan out a bit. After placing the chain between the circles that are glued to the base, glue the two folded circles on top.
Add a bead on either side and repeat with the other felt colors. Finish with another bead on either end, cut the chain to desired length, and add jump ring/clasp.
(I think the original has a spherical fan of felt. I decided to go with a flat back so it lays nicely, but it would be easy to add 4 more circles to the back to make it into more of a ball....)

Visit thecsiproject.com

Visit thecsiproject.com

Monday, January 24, 2011

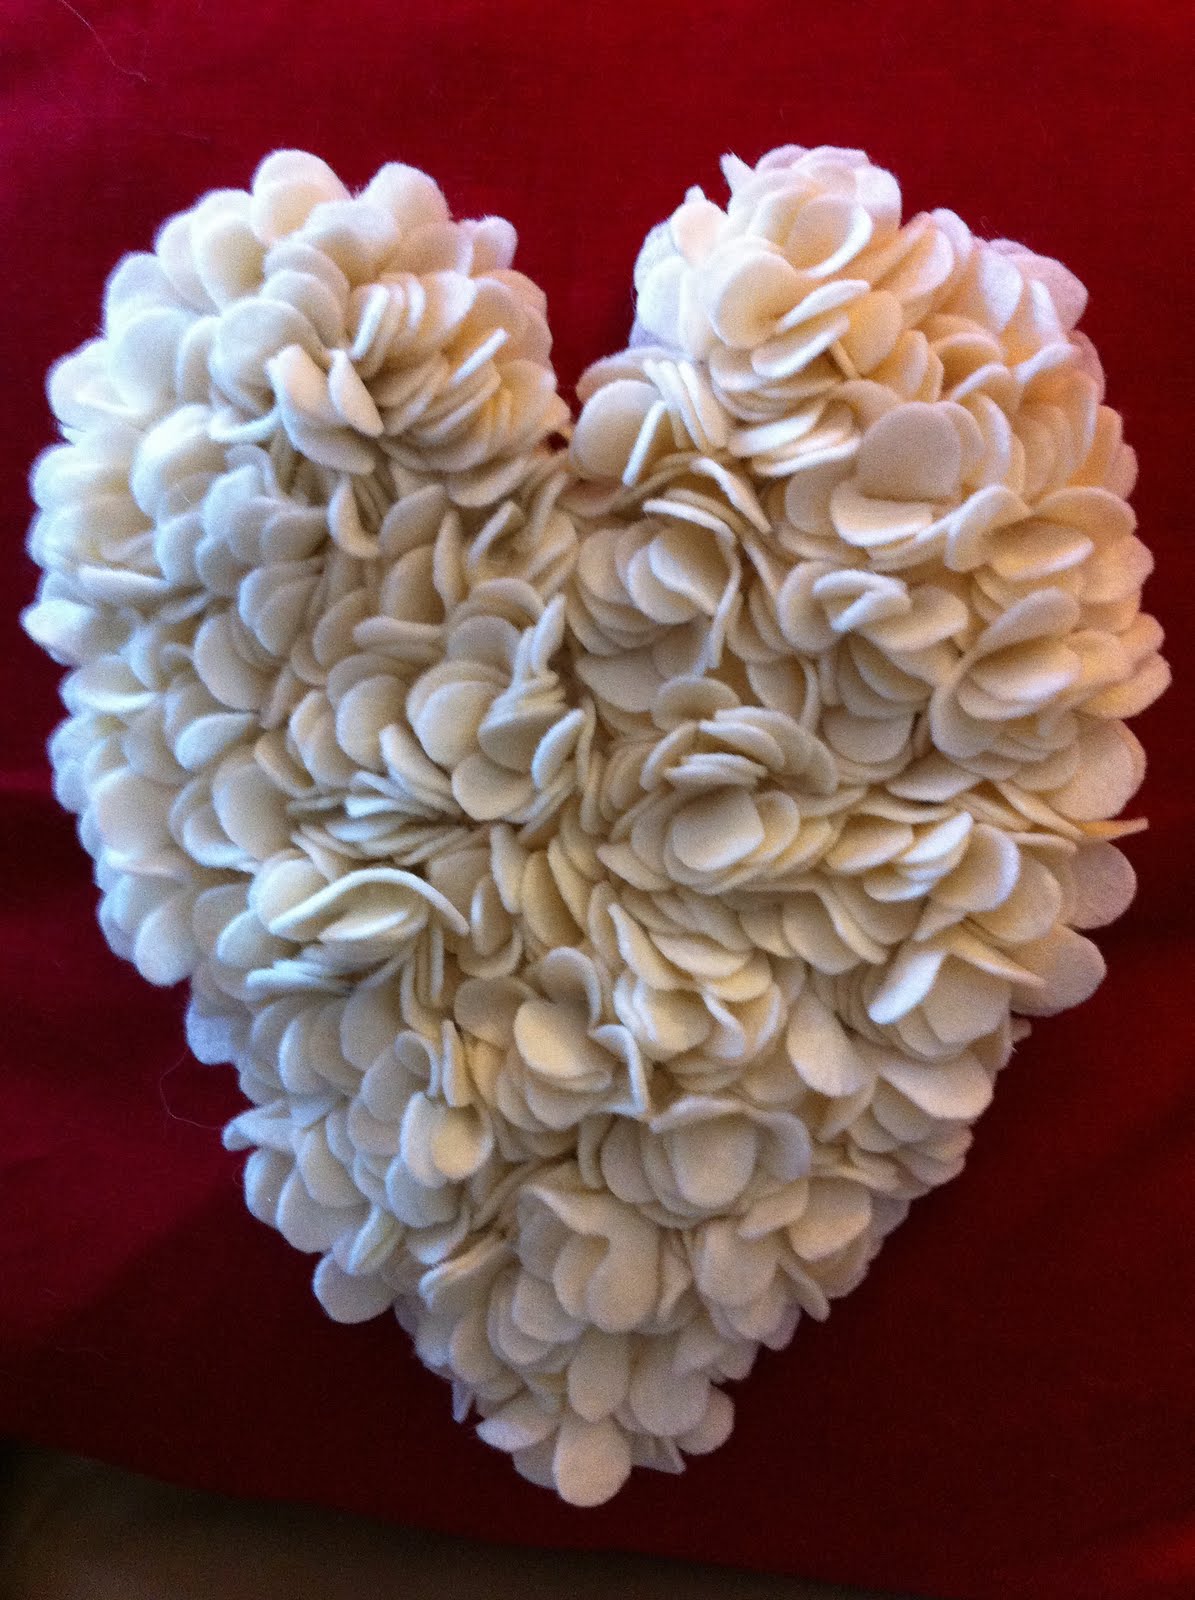
ruffle heart pillow

After getting over my craft-itis (it's like wii-itis but brought on by crafting...) from my felt flower and felt flower wreath making in December, I decided to tackle one more related project: a ruffle heart pillow decoration.

Supplies:
  • 6-7 felt sheets (29 cents at Michaels)
  • Flower template for tracing
  • Scissors
  • Hot glue gun
  • Throw pillow cover
  • Pins
Basically all you need to do is follow one of the tutorials for the felt flower items above to cut out a whole bunch of flowers. Then fold them in half twice, putting a dab of glue on before each fold.
Cut out a felt heart shape for the background, and then glue down the felt ruffles. I started out kind of simulating putting together a felt flower onto the heart background but then just ended up gluing the petals down in a random arrangement, placing wherever they looked good until the whole background heart was covered.
As for attaching to the pillow cover, I was being lazy/clever when I made my poinsettia pillow in December by just gluing pins to the back of the felt poinsettia and pinning it to the cover. So now that the Christmas season is past, I just removed that decoration from the pillow and pinned on my heart.

Monday, December 27, 2010

hand-made christmas

Now that I've given all my gifts, I can finally share what I've been up to! Here are the hand-made presents I did this year:

For Peter's brother and sister-in-law, monogrammed napkins for each family member. The napkins come in 4-packs, so I did cute little fruits on the remaining ones, which can be used by guests or any particularly messy family member who has soiled his own (and I say "his" because with 4 of the 5 family members being male, and 3 of those males being little boys, it's bound to happen...).

For Peter's sister, a fun bracelet:

For my Grandma Judy, a poinsettia pillow cover:

For Ginger the puppy, embellished microfiber cloths. She loves to go out in any weather, so she's been coming back inside a bit wet lately with all the snow romping. These will be handy to keep by the door for some quick wipe-downs:

And for all the ladies in my life (grandmas, aunts, moms, cousins, sisters), I made felt flower pins (tutorial examples here and here). I printed "merry christmas from anne" on 5X7 cardstock and cut them in half; then I punched 2 small holes to thread the pin through. There were a variety of flower pin colors so the ladies could choose their favorite color or the one that would look best with their coat...

Monday, December 13, 2010

11 - poinsettia pillows


There was a brief hiatus from Christmas crafting over the weekend as I was busy Christmas partying.... but now I'm back with day 11 - simple throw pillow holiday embellishments.
Supplies:
  • Pillow cover
  • Felt (I used the 29 cent sheets from Michael's, needed about 7-8 of them)
  • Glue gun
  • Pins
I took my inspiration from Centsational Girl but varied the assembly method from her tutorial. I don't have a sewing machine, so instead I cut out the leaves (about 12 bigger sized, 8 smaller sized) and then arranged/glued them to a felt square base.
After gluing a felt circle to the middle to cover up all the meeting points right there, I attached the whole thing to my pillow cover. If you had a sewing machine, you could make your own, but I'd recommend going the $6 Ikea pillow cover route any day... I was going to hand stitch my flower to the pillow, but I started scheming other seasonal embellishment ideas as I was making the flower, so instead I glued two pins to the back of it and simply pinned it to the pillow cover, and now the pillow can be reused/redecorated throughout the year.
Here's my next one in the works...

Thursday, December 9, 2010

9 - felt flower wreath

Before I knew about the church wreath making event, I had already wanted to make my own wreath, and I decided to do a felt flower wreath after seeing lots of great fabric flower project ideas on various blogs.
Now be warned that this is a slightly crazy idea because you need to trace/cut out about a zillion flower shapes and then make about a million flowers with them before gluing everything onto the wreath form. But it's fun...

Supplies:
  • Felt (I really have no idea how many of those little felt sheets from Michael's I used. Good thing they're only 29 cents.)
  • Flower template
  • Scissors
  • Hot glue gun & lots of glue sticks
  • Wreath form (mine's from the dollar store)
As mentioned, you need to start out by cutting out the shapes and making a whole bunch of flowers. Here are the two tutorials I looked at, where you can get the template for the flower shape and the instructions: Jones Design Company and Tatertots & Jello.
Then I just glued them around the wreath form until I was happy with how everything was filled in. I also added a couple red flowers for fun.Quick description, but it really did take some time to get all those flowers made... put in your favorite Christmas movie and do your cutting in front of the TV would be my suggestion!

Thursday, October 21, 2010

valentine's day craft: felt hearts

Since moving into the new house, I've been busy with lots of decorating and organizing and have yet to establish a little craft-making area. Because I'm not making much of anything new at the moment, I thought I'd reproduce a few projects I've showed in the past on my personal blog - edited slightly for relevant content...

*********************************************

Even though Peter and I don't really do anything for Valentine's Day (especially now that our anniversary is on February 4th), I still like to use it as an excuse to make cards or decorated cookies or something for friends and co-workers. When I saw the following picture online, I HAD to make these adorable hearts - despite not having a single one of the supplies in my possession, especially not any pinking shears.


Luckily, they're quite cheap and very easy to make. The idea, instructions, and photos are all at the crafty blog The Purl Bee. They sell the felt and the embroidery thread in their fabric/yarn shop in NYC, so their supplies are pretty fancy and a bit pricey. I did mine on the Hobby Lobby budget instead: a total of $6 for my little project! This bought me enough felt to make 30-35 hearts, and enough filling to stuff a couple hundred of them. (Oh, and I also had to buy some pinking shears, but they were a good tool to add to my supply anyway.)

To make, basically all you do is print out the little heart template, cut out pairs of hearts with pinking shears, sew them most of the way together with a contrasting color of thread, stuff them, and sew shut. Quite a satisfying project to make, as you can whip out several of these in about 10 minutes.


The original instructions were to sew little safety pins to the back to make them into Valentine's pin gifts. But I did 2 other variations. First, in a middle-of-the-night inspiration, I decided to make some of them into magnets by hiding the magnet inside with the stuffing, so you can't even tell they're magnets until you stick 'em on the fridge.


Then, I poked a very thin ribbon through some of the hearts to make them into decorations for some little gifts.


Related Posts Plugin for WordPress, Blogger...