Showing posts with label paper crafts. Show all posts

Saturday, September 3, 2011

fiesta

It's been fall ideas and talk left and right on all the craft and decor blogs I follow... but it's sooo hot and humid where I live that it's hard to think about that! And anyway, I've been working on planning a fiesta themed party - the bright colors are keeping me in summer craft mode.

The party was with my husband's co-workers and their families, to celebrate two of them who are getting married this fall. We made it more party than wedding shower and a fiesta seemed gender neutral - all the guys want is food & drinks anyway, so I didn't go overboard with the theme - just a couple projects.

For invitations, I used a chevron design from these free printable invitations, added a fiesta-like font, and then printed them on bright paper.


And then for some simple decorations, I made papel picado banners following the folding tutorial here. It was super easy (and kind of addicting) to make these cutouts, and then I glued a ribbon on to make them into a banner.


One of my co-hostesses made a festive tissue paper rose pinata following the tutorial here; unfortunately I didn't get a good picture, because it was amazing. I helped her make tissue paper flowers for a while - they were really easy, but you need tons, so the project takes a really long time.

For food, we did pretty simple Mexican-type fare: tacos, chips with salsa/guacamole, Corona. I also made some Mexican chocolate cookies with a pinch of cayenne - a fun twist on a chocolate cookie.

Sunday, May 22, 2011

bits & bobs

With all the yard work, traveling, working, and so on that's been going on around here, there hasn't been a whole lot of time for crafting. ALSO: I have started work on sewing my first pattern (an a-line skirt), and it is taking an eternity. First I had to let the supplies sit for a couple weeks. Then I had to watch a bunch of YouTube tutorials to figure out if I was supposed to cut out the pattern itself (answer is yes) and then what to do from there. Then I had to Google fabric grain, and now finally I've got everything laid out so I can trace and cut. At this rate, the skirt should be ready for wearing in the fall.


But here are a few odds & ends (or bits & bobs, as my colleague in the UK would say... delightful) of copy-crafts that I posted ideas for earlier and have gotten around to.

Paper flowers (from Jones Design Company tutorial). These were so fun and easy (and didn't require any shopping for supplies) that I whipped up a bunch. I plan to stick some of them on wire to make a little bouquet, but I also used them to pretty up the envelopes for mothers day cards.


Wrapped bangle (see also these ones from Martha). I had an old cheapy one that wasn't getting much use, so I restyled it into this with some embroidery thread. I am really into coral right now, so this was a perfect (and cheap) way to add some coral to my jewelry box.
This was as easy as it sounds - just attach the thread to inside of bracelet with a dab of glue and wrap; to end, leave a tail long enough to thread a needle in order to pull the tail under the wrapped thread on the inside of the bracelet to secure it.

 before

after

Monday, May 2, 2011

vacation

I'm on a little hiatus from copy-crafting as my hubby has the week off from his crazy work hours, and we're taking a needed rest & relaxation time away.... Though I just might have to take along a big stack of papers and make about a million of these while we're sitting around relaxing:


How adorable are these rolled paper flowers from Jones Design Company? Check out the tutorial here, and you can whip up a long-lasting bouquet for Mother's Day!

Friday, April 8, 2011

hydrangea eggs

Last month I made a hydrangea wreath out of paper and my handy Martha Stewart hydrangea punch ... and I knew I wasn't going to be able to stop myself from plastering petals on some other objects. My original inspiration came from fabric flower covered eggs at Pottery Barn, so eggs were what I did next.

See the how-to on the wreath project here; it's essentially the same process for the eggs, except of course you start with some plastic eggs (mine was a 99 cent set from Target) rather than a wreath form. I took my color inspiration from the eggs, that way if a little of the plastic peeks through, it doesn't totally stand out. Again, I used two close shades of the same color to give it a little depth.

I decided to cover all the way, rather than leaving a blank spot at the bottom for them for balance, but they seemed to stand up okay anyway. I saw some giant eggs at Michael's that would be fun to do for a bit centerpiece. You could also attach a ribbon hanger to the top before hydrangea-ifying.
 

Sharing here.

Wednesday, March 2, 2011

hydrangea wreath

Whether or not spring is actually appearing weather-wise, you know it's popping up in all the stores... Recently I've seen a couple cute hydrangea-covered items at Pottery Barn (egg-shaped ornaments covered with fabric flowers) and Michael's (round ornament covered with paper petals).
Because I liked those, and also because I apparently like making wreaths that take a long time (exhibit A), I wanted to take the above inspiration and make a springy wreath. Lo and behold, Martha Stewart makes a hydrangea punch, so after picking that up on sale, off I went.

Supplies:
  • 5-6 sheets of 12X12 paper
  • Hydrangea (or other similar flower shape) craft punch
  • Wreath form
  • Glue gun
  • Ribbon for hanging
Directions are simple: Cut paper into strips. Punch out flower shapes. Fold up edges of flowers to give dimension. Glue flowers to wreath until it's covered.
Some tips:
  • Consider covering/spray painting the wreath form something similar to your paper color. I didn't really think of this until it was too late - I don't mind the little bits of green peeking through that much though.
  • Use two close shades of the same color paper to give it some depth, like a real hydrangea.
  • Don't bother covering the back, this way it will lay flat.
  • Line up some good stuff on the DVR as you'll be at this a while...
Even if it was kind of time consuming, I love the effect... and will definitely be hydrangea-ifying some other items soon!

Visit thecsiproject.com

Sunday, February 6, 2011

doily valentines

We've never done much with Valentine's Day as a couple (especially now that we have an anniversary so close - now we can go out ahead of time and avoid the restaurant crowds!), but I've always loved Valentine's Day and treated it more like a friendship holiday. My mom still gives us little gifts, and I still like baking treats and handing out cards to friends like I did in elementary school. These days I make and mail cards; it's a perfect excuse to send a little note to friends and family.
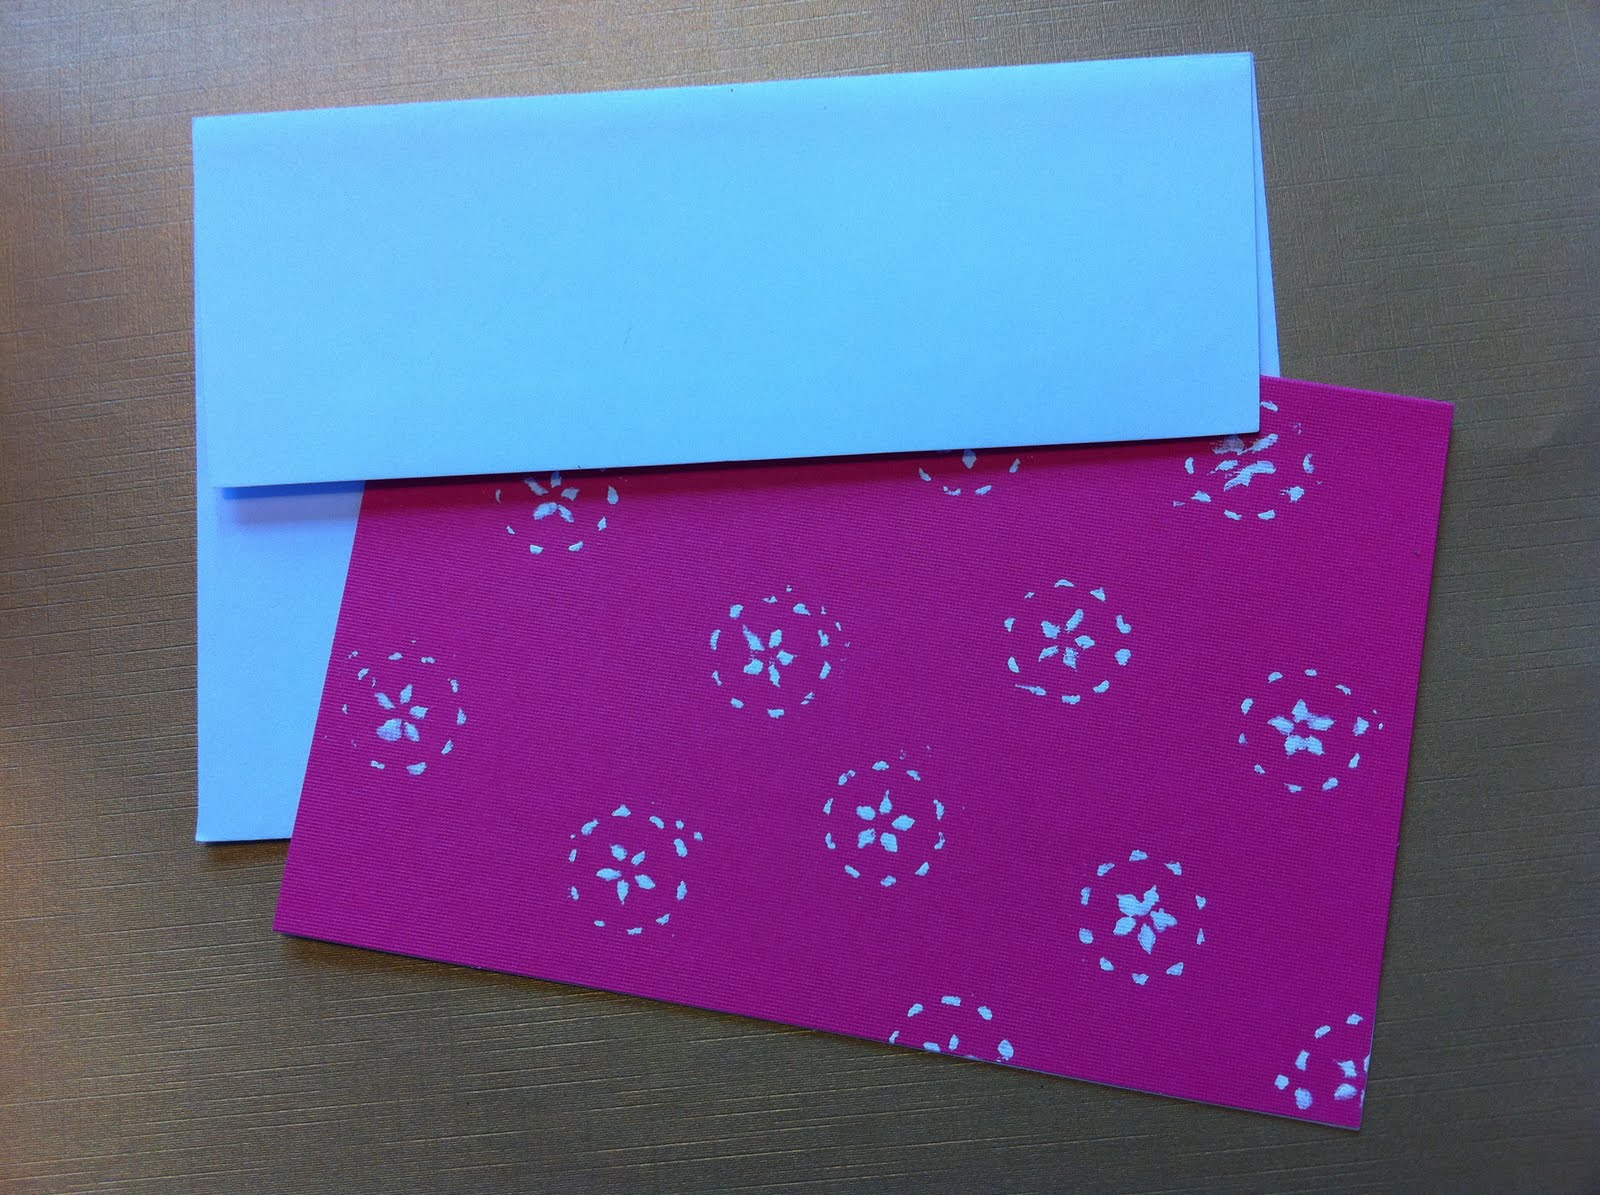
Last year, inspired by these cards, I made Valentines using doilies as stencils.

Supplies:
  • Variety of paper doilies
  • Acrylic paints
  • Fine paintbrush
  • Cards/envelopes
This is really easy - all you need to do is use the doily as a stencil and stipple on the paint a little bit at a time (you may need to use a toothpick to punch out some of the doily shapes if the holes aren't entirely opened). Remove the doily while the paint is still wet so it doesn't stick.

You can make a variety of designs by using the whole doily or picking out pretty details. I also decorated a few of the envelopes.

And here's an idea for a different card, cutting up and using parts of the leftover doilies (of which I had a bunch after this project - so I might have this year's card design!); these envelopes are also pretty.

Wednesday, December 8, 2010

8 - gift tags


When I have time, I like to make a little something fun for tags on my gifts. Last year I frosted some gingerbread ornament cookies for tags on my nephew's gifts. The tags were more of a hit than the gifts at the time...

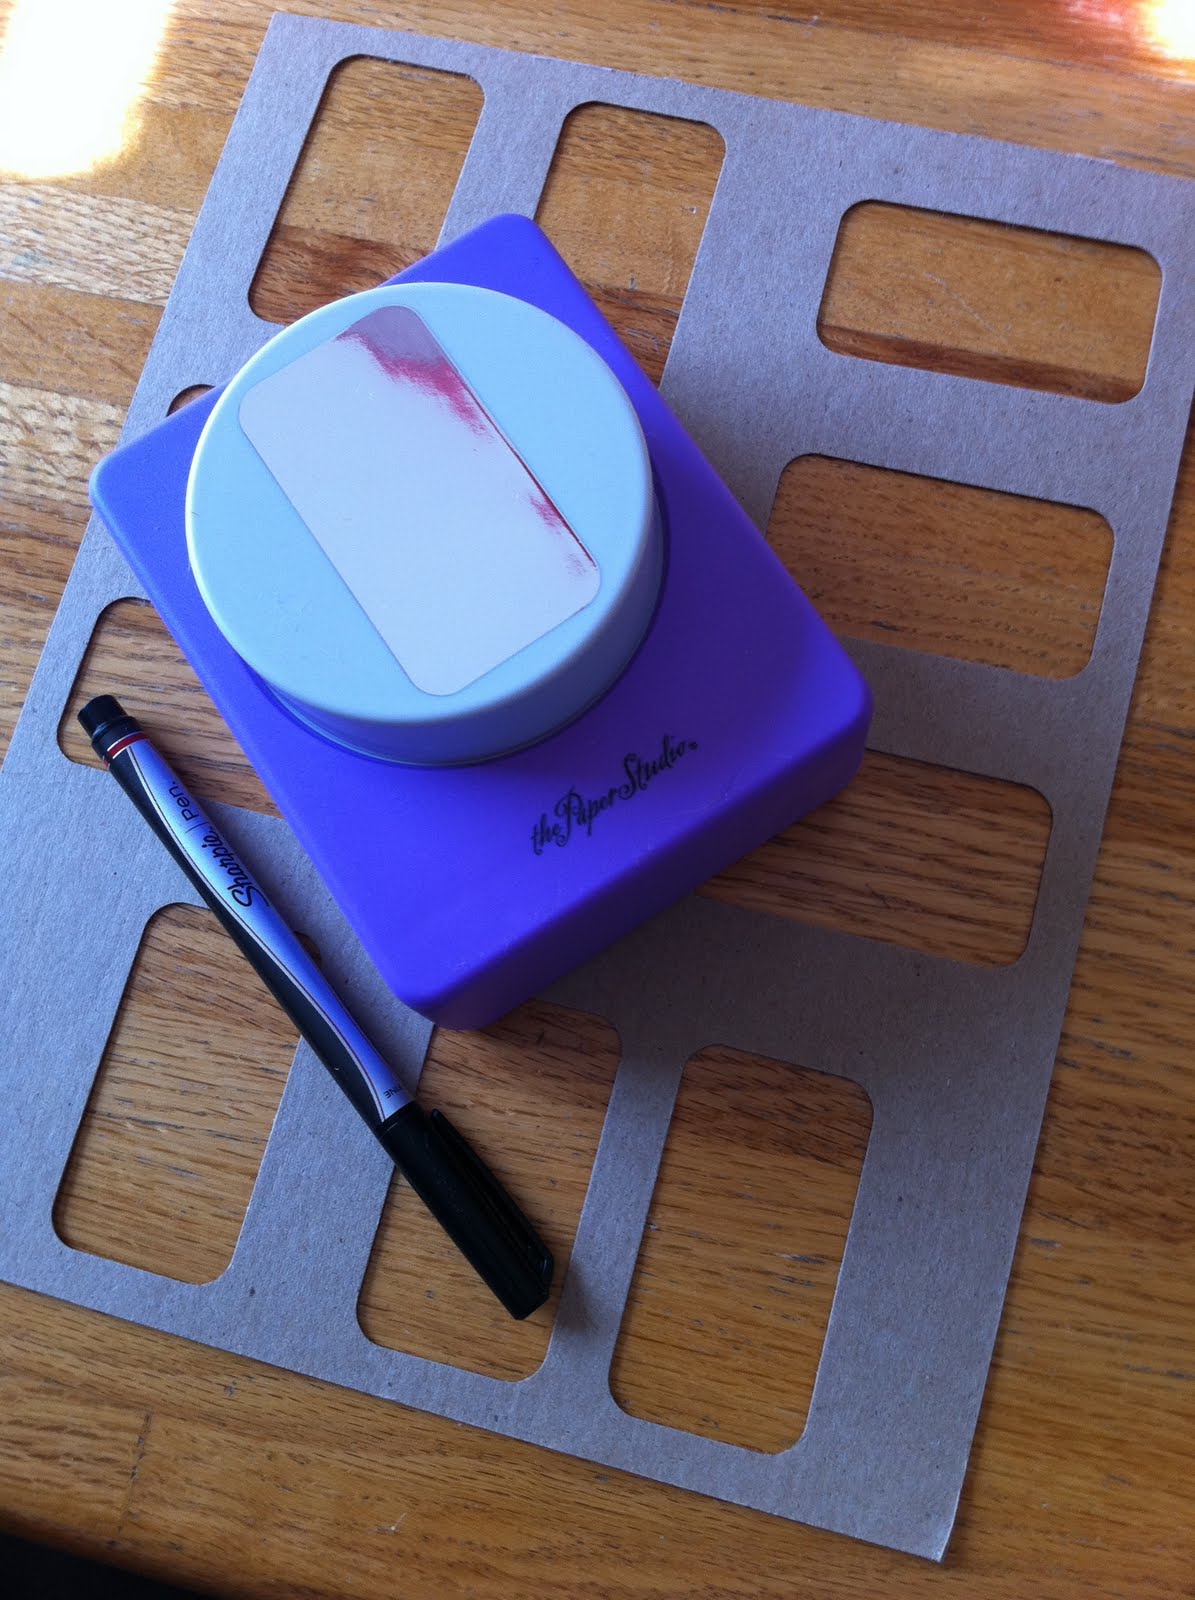
This year I used my rounded rectangle punch to make my own tags out of some thin cardboard (repurposed from the backing of a notepad), and then I just took my red Sharpie pen to them. Usually I'm too much of a perfectionist to do a hand-drawn look, but I think they're kind of fun and look good with this year's Ikea wrapping paper, so I'm going with this simple approach.

If you just want to print some cute paper tags, here is a roundup of some fabulous printables:
I tied them on with the leftover gold elastic from my ornament making.

Friday, December 3, 2010

3 - paper globe ornaments

Since it's the first Christmas in our house, I've had quite a few decorations to buy: I got some things for the outside and also stockings - now that we have a mantel! I also came back from Thanksgiving with an artificial tree that my mom was not planning to use (thanks, mom!), but I don't really have a lot of ornaments around since we never had a full-sized tree in our apartment. I didn't really want to spend any money on tree decorations, especially since I know as soon as my mom reads this, she'll be packing up all my childhood ornaments to send home with me on my next visit, so I decided to go with some easy paper globe ornaments.Supplies:
  • paper cut into strips of various lengths - I used various reds; in the inspiration project, Martha recycled holiday greeting cards
  • hole punch
  • paper fasteners
  • festive string/cord for hanging
All you need to do is punch a hole at both ends of the paper strips, attach the fasteners, and fan out to make a globe. You can vary the number of strips depending on how much space you want between them. On the ornaments made from longer strips, I did 15-18 strips, and on the shorter ones, I usually did 10-12 strips.
I cranked out a whole bunch of these sitting in front of the TV and then wound some gold elastic cord around one of the fasteners on each to make a loop for hanging.

I love all the sentimental ornaments (made when I was young, given to me throughout the years, etc.) on the tree at my parents' house, but I'm also a big fan of a uniform look when it comes to tree decorating, so I'm quite pleased with how this turned out. And it really was inexpensive - most of the paper I had on hand but spent maybe $2.50 on some more, about $2.50 on the fasteners, $2 on the gold elastic cord for hanging, and $8.50 on lights (buy one get one free at CVS). And I have plans to make a skirt out of a $5 (half off with coupon!) tablecloth from Target...

found this fun paper at Michael's that's double sided - so you
get a little peek of red & white when you look up close.


Featured on:
Photobucket

and

Straight Stitches

Thursday, December 2, 2010

2 - glitter cards


Today's project is in honor of my great grandma's 97th birthday. When I got married, she gave me an afghan and some crocheted snowflakes, and these snowflakes she made were actually kind of the theme of our wedding. My grandma once drew a sketch of the snowflake ornaments, which my mom had made into rubber stamps and used on our invitations and programs. We did similar snowflakes on the cake too.
the 4 generations (plus my flower chick cousin)

So I made my Christmas glitter cards with my wedding snowflake stamps, but you can achieve a similar sparkly effect with any stamp, of course!

Supplies
  • Christmas/winter-themed rubber stamps
  • Glue stamp pad (mine's from Martha Stewart via Michael's)
  • Blank cards
  • Glitter
All you need to do is press the stamp onto the glue pad, press it onto the paper, and then sprinkle some glitter on. You can shake off the excess immediately - or just shake the excess onto your next card, and keep recycling your glitter that way.
These are so easy - I cranked out a set within 10 minutes. They could be a nice little gift wrapped up with a bow, or you can send out your own Christmas greetings with them. Of course the possibilities are endless for designs and colors, but I liked the blue/silver since they still look holiday-ish but steer away from "Christmas colors" for once.

Sunday, November 14, 2010

graph paper notecards

Here's another homemade gift I've made with my mom for a previous Christmas: graph paper notecards. This is basically the easiest homemade gift ever, but it's great because it can be customized in a million ways to suit your recipient.

Supplies:
  • Graph-ruled 4X6 index cards (mine are from Staples)
  • Computer
  • Printer
All you need to do is open a word processing program, set the page size to 4X6, type whatever you want at the top, and print a stack.

You can play around with different words and colors ...

... or different fonts and monograms ...
... or make a personalized stack in one color/font or many ... possibilities are endless!
Easy and cute packaging suggestion: a bit of ribbon and a sharpie (who doesn't love a sharpie?!).
These are a great little gift for a teacher, co-worker, or hostess, and they're quite economical: 100 notecards cost me about $2.50, and you could do a few sets with that (just want a respectable looking stack thickness...). You can buy sharpies individually at some places like Staples; otherwise get a big set (even at Hobby Lobby - with coupon!) and break it apart for individual gifts.

Shared here.
Related Posts Plugin for WordPress, Blogger...